

The rise of Large Language Models (LLMs) has sparked a new era of personal automation, and OpenClaw stands at the forefront of this movement. While many tutorials focus on simplified VPS deployments or menu-based installers, these “black box” methods often obscure the underlying architecture, making troubleshooting and advanced customization difficult. For creators and developers who value privacy, control, and performance, a manual installation on a dedicated machine like a Raspberry Pi is the gold standard.
In this guide, we are moving away from the “one-click” convenience of hosted providers. Instead, we will walk through a bare-metal installation on Linux. By the end of this tutorial, you will have a fully functional OpenClaw instance capable of communicating via Telegram, powered by OpenRouter, and hosted securely within your own network.
🎥 Video Overview
Why Deploy OpenClaw on a Raspberry Pi?
Choosing a Raspberry Pi (or a similar dedicated Linux environment) over your primary workstation is a critical security decision. OpenClaw is currently in beta, and as an autonomous agent framework, it requires a “workspace” where it can create, modify, and execute files. Running this on your main machine—which likely contains sensitive personal data, browser cookies, and saved passwords—introduces unnecessary risk. By offloading this to a Raspberry Pi, you create a hardware-level sandbox. If the agent makes a mistake or encounters a malicious prompt, the “blast radius” is limited to the Pi.
Furthermore, using a Pi allows your agents to remain online 24/7 without the power draw of a full desktop. This is essential for features like Telegram integration, where you expect your AI assistant to respond regardless of whether your laptop is open.
Step 1: System Preparation and Updates
Before we pull the OpenClaw binaries, we must ensure the host operating system is stable and all dependencies are current. We are using a standard Raspberry Pi OS (64-bit is recommended for AI applications). Connect to your Pi via SSH and run the following update commands:
sudo apt update && sudo apt upgrade -y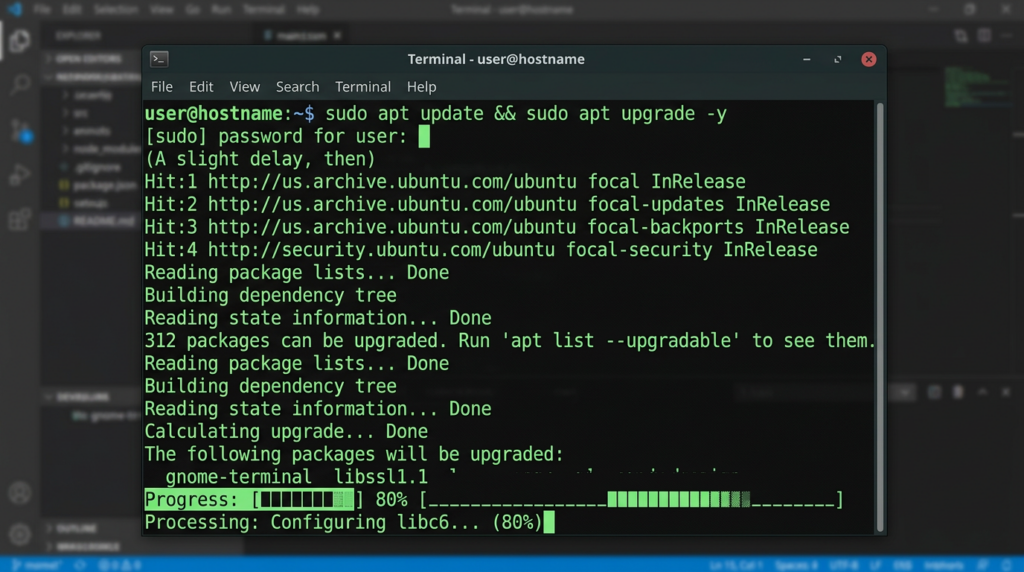
Step 2: Installing OpenClaw via the Command Line
OpenClaw provides a streamlined one-liner for Linux installations. This script detects your environment and automatically fetches required packages like Node.js if they are missing. Note that OpenClaw has gone through several name changes (formerly Multibot and Cloudbot); if you are following older tutorials, the commands will likely fail. Always use the current OpenClaw syntax.
Run the following command to initiate the installation:
curl -sL https://install.openclaw.dev | bashStep 3: Navigating the Onboarding Process
Unlike many software packages that leave you to a config file, OpenClaw immediately enters an interactive onboarding session. Use your arrow keys to navigate the menus. Key decisions during this phase include:
- Workspace Directory: By default, this is usually
/home/user/.openclaw/workspace. Keep this on the local drive. Do not map this to a sensitive NAS share until you are fully aware of the security implications. - LLM Provider: In this guide, we are using OpenRouter. This allows you to access a variety of models (including free ones like Claude 3.5 Haiku or specialized Llama versions) via a single API key.
- Gateway Port: The default is
18789. Unless you have a conflict, leave this as is. - Authentication: You can choose a password or a token. A token is generally more secure for remote access, but ensure you save it; if lost, you will need to re-run the setup.
Step 4: Connecting OpenClaw and Telegram
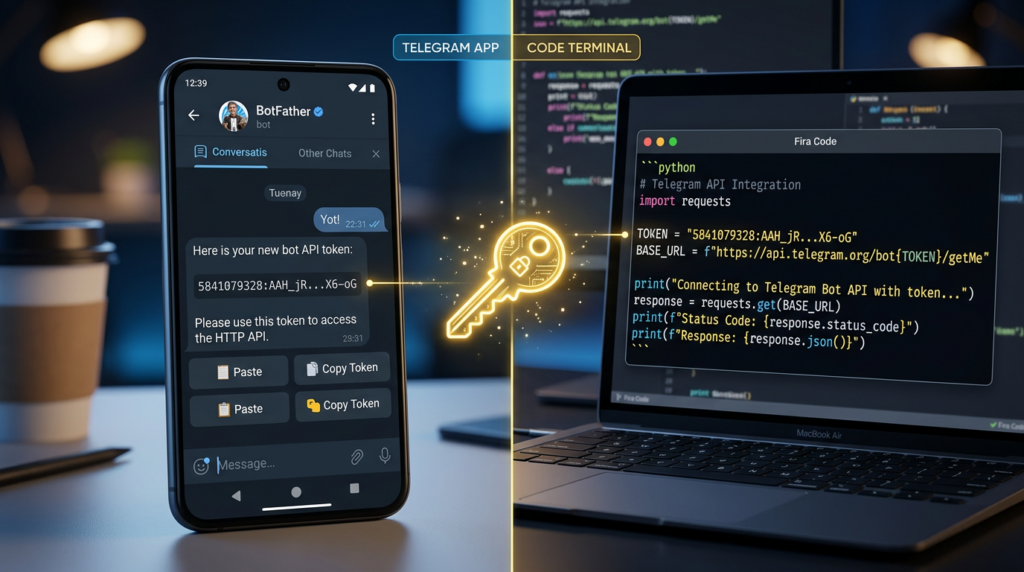
To give your agent a voice, you need to connect it to a chat platform. Telegram is highly recommended because of its robust API and ease of use. To set this up, you must interact with the “BotFather” on Telegram.
1. Search for @BotFather on Telegram.
2. Send /newbot and follow the prompts to name your bot.
3. Copy the API Token provided.
4. Paste this token into the OpenClaw onboarding terminal when prompted.
During the OpenClaw setup, you will also be asked to configure DM Access Policies. Select “Pairing.” This prevents random Telegram users who might stumble upon your bot’s name from using your LLM tokens or accessing your Raspberry Pi.
Step 5: Solving the “Origin Not Allowed” Dashboard Error
One of the most common hurdles for new users is accessing the web dashboard from a different computer on the same network. By default, OpenClaw locks access to “localhost” for security. If you try to visit your Pi’s IP address (e.g., 192.168.1.25:18789), you will receive an “Origin Not Allowed” error.
To fix this, you must manually edit the configuration file:
nano ~/.openclaw/openclaw.jsonFind the "gateway" section and look for the "allowedOrigins" array. You need to add your Pi’s local IP address to this list. It should look something like this:
"allowedOrigins": [
    "http://localhost:18789",
    "http://127.0.0.1:18789",
    "http://192.168.1.25:18789"
]After saving (Ctrl+O, Enter) and exiting (Ctrl+X), you must restart the gateway for changes to take effect:
openclaw gateway restartExpert Insight: When editing the
openclaw.jsonfile, ensure your syntax is perfect. JSON is notoriously sensitive to missing commas or misplaced quotes. If the gateway fails to restart, double-check that you added a comma after the previous entry in the array.
Step 6: Pairing and Training Your Agent
With the gateway restarted, navigate to the dashboard in your browser. Switch to Dark Mode (top right) for the best experience. Now, return to Telegram and start a chat with your new bot. Send the /start command.
OpenClaw will likely ask you to define its “soul.” This is where you set the persona. If you want a concise technical assistant, tell it that. If you want it to act as a creative writer, provide those instructions. You can verify the model connection by asking: “What model are you using?” It should respond with the specific model you selected in OpenRouter (e.g., Step 3.5 Flash).

Conclusion & Security Warning
Deploying OpenClaw on a Raspberry Pi is a significant step toward personal AI sovereignty. However, remember that this is a powerful tool with the ability to execute commands. Avoid giving the agent access to web searching or sensitive APIs (like Gmail or Notion) until you have fully tested your guardrails. For users accessing their Pi from outside their home network, I highly recommend using Tailscale to create a secure, encrypted tunnel rather than opening ports on your router.
OpenClaw is evolving rapidly. Future updates will allow for local LLM integration via Ollama, enabling 100% offline privacy. Stay tuned for more deep dives into agentic workflows and skills configuration.
Connect with the Community
If you run into issues or want to share the cool agents you’ve built, join the conversation. Connect with HAVOK and the rest of the community on the Discord server: https://havok.link/discord-wp
Frequently Asked Questions

A driving force at the intersection of gaming, technology, and creator empowerment with over two decades of IT experience. HAVOK blends deep industry insight with hands-on expertise in digital storytelling and community building. Beyond content creation, he is a dedicated mentor helping emerging voices refine their brands and break into the tech industry with confidence and authenticity.